In a nutshell
- 🧪 Why it works: Mild acetic acid in vinegar dissolves alkaline grime, while a squeegee lifts solution off before it dries, delivering a streak-free finish.
- 🪟 Five-step method: Dust frames, mix 1:3 vinegar-to-water with a drop of soap, wet and allow dwell time, pull smooth overlapping strokes, then detail edges with microfibre.
- 🛠️ Right kit, right mix: Choose a firm, replaceable rubber blade (10–12″), use distilled white vinegar, replace nicked blades, and consider filtered water in hard-water areas.
- ⚡ Speed, safety, sustainability: Stage tools, work top-to-bottom in shade, protect eyes and stone surfaces, use an extension pole, and cut waste with refillable bottles—faster, cheaper, greener.
- ✨ Results you can see: Brighter rooms, pro-level clarity, and consistent crystal-clear glass in minutes—without harsh chemicals or endless wiping.
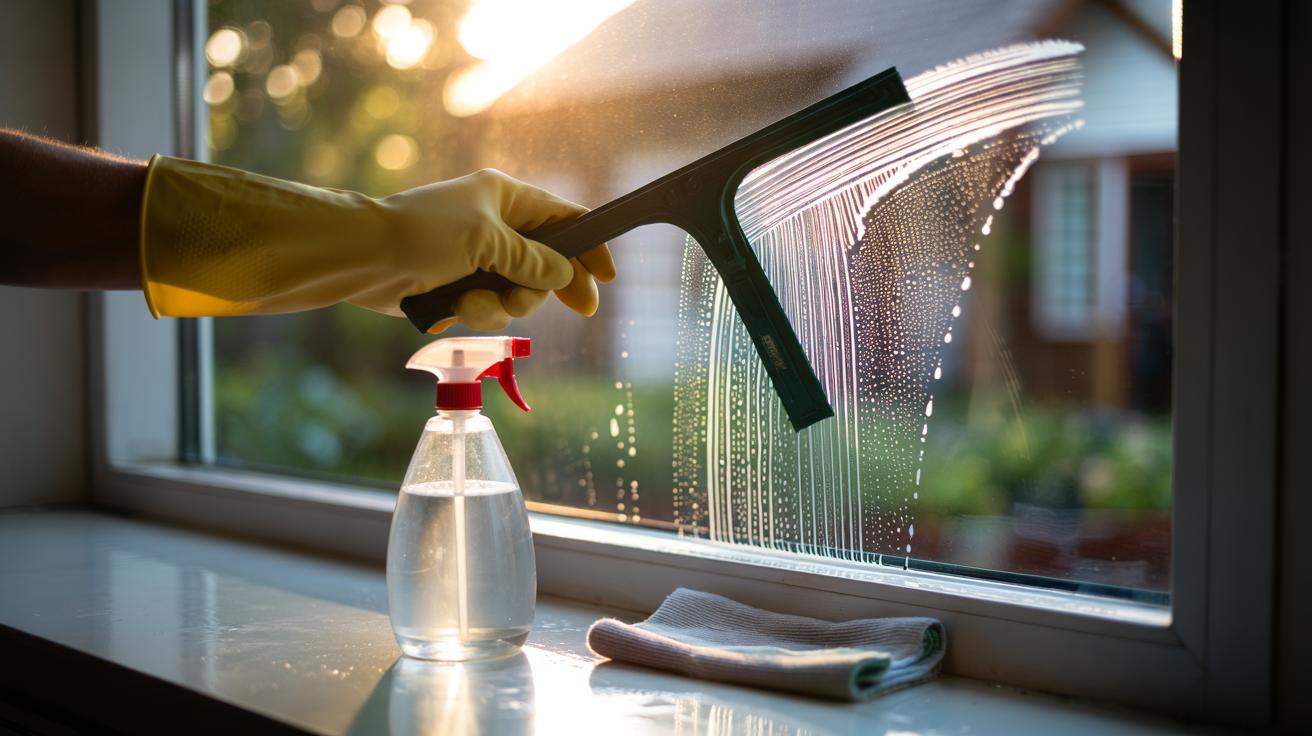
Windows love to betray us. They look fine at a glance, but tilt your head and there it is: haze, smears, a constellation of water spots. The cure isn’t a basket of chemicals or a weekend lost to scrubbing. It’s a humble squeegee and a splash of vinegar. This pairing slices through grime with startling speed, delivering a crisp, streak-free shine you can actually see from the pavement. Think pro results without the pro invoice. Quick setup. Minimal kit. No perfumed fog or sticky residue. Done right, the glass dries faster than you can say “where did that smear go?”
Why Vinegar and a Squeegee Work
Behind the sparkle lies simple chemistry and smart mechanics. White vinegar is acetic acid, mild yet ruthless on alkaline deposits such as limescale, soap scum, and the invisible film left by aerosol cleaners. It dissolves the bonds that make dirt cling, softening the mess so it moves. The squeegee then does the clean lift, shearing the loosened solution off the pane before it can dry. That swift removal is the anti-streak secret. No lingering droplets. No residue. Just light, freed to pass through.
There’s more. Vinegar evaporates cleanly and leaves no surfactants to smear under pressure. It’s cheap, accessible, and kinder to indoor air. Meanwhile, a quality squeegee applies even pressure along its rubber blade, preventing chatter and those heartbreaking tails. On cold mornings or hot afternoons, consistency matters. Uniform blade contact equals uniform clarity, pane after pane, frame to frame.
And unlike paper towels—abrasive, linty, and thirsty—a squeegee barely touches the glass, so micro-scratches are less likely. You also use less liquid, cutting drying times and watermarks. It’s efficient, almost elegant. Strip. Wipe. Shine.
The Five-Step Method for Streak-Free Glass
Step 1: Dust the frame and sill. Knock off cobwebs, grit, and flakes so they don’t smear under your blade. A dry microfibre cloth or a soft brush is perfect. Clean frames first to protect the glass finish. If you skip this, grit builds a sludgy paste that any cleaner will drag across the pane.
Step 2: Mix your solution. For light grime, go 1 part white vinegar to 3 parts warm water; for stubborn deposits, go 1:1. Add a single drop of washing-up liquid to break surface tension. Too much soap invites streaks, so be sparing. Fill a spray bottle or a small bucket.
Step 3: Wet the glass thoroughly. Work top to bottom. Let it sit 30–60 seconds on mineral spots—your crucial dwell time. Patience here speeds everything later. For exterior windows, re-wet as needed if the sun or wind races ahead of you.
Step 4: Pull the squeegee. Start with a clean, slightly damp blade. Either sweep in smooth horizontal passes with a tiny overlap or use a pro-style S-stroke. Wipe the blade edge on a towel after each pass. Step 5: Detail the edges with a dry microfibre. That’s it—streaks banished.
Choosing the Right Tools and Mix
Not all rubber is equal, and not all vinegar is created for glass. Pick a squeegee with a firm, replaceable rubber blade that doesn’t wobble under pressure. Ten to twelve inches suits most domestic panes; larger for big bi-folds. Keep a dedicated microfibre for edges and a separate cloth for sills. As for the liquid, aim for distilled white vinegar. It’s clear, predictable, and won’t tint your view. Skip brown malt vinegar—great on chips, dreadful on windows.
| Vinegar Type | Typical Dilution | Best Use |
|---|---|---|
| White (distilled) | 1:3 vinegar:water | Routine cleans, indoor glass, mirrors |
| White (strong, 10%) | 1:5 vinegar:water | Limescale spots, exterior panes |
| Cleaning vinegar | 1:4 vinegar:water | Greasy fingerprints, kitchen splashbacks |
Blade care is a quiet hero. Replace at the first nick; store it flat, out of heat, to avoid warping. A perfect blade turns effort into glide. For frames painted in gloss or uPVC, the same mix is gentle enough, but test on a discreet corner. And if your tap water runs hard, try filtered water for fewer drying marks.
Safety, Speed, and Sustainability
Speed doesn’t mean shortcuts; it means flow. Stage your kit: bottle or bucket on the left, cloth in your pocket, squeegee in hand. Work top to bottom, left to right. Open windows for ventilation, especially in tight bathrooms. Use cold or lukewarm water to slow evaporation on hot days. When the sun’s blazing, tackle shaded elevations first, then follow the cool round the house.
Vinegar is low-tox, but keep it out of eyes and off natural stone sills where acid can etch. Wear light gloves if your skin’s sensitive. For upstairs exteriors, a squeegee on an extension pole keeps feet grounded. Indoors, place a towel along the sill to catch drips. Minimal mess, maximum pace. The rhythm becomes addictive.
There’s an environmental dividend, too. No synthetic fragrances, no aerosol propellants, fewer single-use towels. You’ll use less water, less product, and create less waste. The bottle is refillable. The blade is replaceable. It’s the rare cleaning method that’s faster, cheaper, and greener. Your only real enemy? Hesitation. Once you start, you won’t go back.
In a world of overcomplication, windows respond to clarity—of solution, of technique, of intent. A bottle of white vinegar, a sharp squeegee, and a few deliberate passes turn smudged panes into daylight amplifiers, making rooms feel bigger, calmer, and better kept. It’s quiet satisfaction you can measure in reflections. Ten minutes now saves an hour later. So, will you reach for the rubber blade and let the glass tell its own story, or stick with the sprays and paper that never quite deliver—what’s your next move for truly sparkling windows?
Did you like it?4.5/5 (20)