In a nutshell
- 🔧 Uses physics-driven leverage: a hairpin against the tin’s bale forms a first-class lever, multiplying effort while minimising rim damage.
- 🧭 Step-by-step control: stabilise the tin, rotate the bale as a fulcrum, insert hairpin under the lid curl, apply small torque lifts around the circumference, and soften residues (warm cloth or white spirit) if needed.
- 🛡️ Safety and cleanliness: wear eye protection and nitrile gloves, keep the tin steady, avoid steel hammers, and clean the groove to protect an airtight reseal.
- 🧰 Tools compared: hairpin + bale (low risk, controlled torque), paint key (routine openings), flathead screwdriver (medium risk), plus softening aids to break the paint bond.
- ✅ Better outcomes: preserves the lid and rim, prevents dents, speeds the job, and ensures reliable resealing through gentle, distributed lifts instead of brute force.
There’s a simple, almost cheeky trick that turns a maddening DIY job into a quiet victory: use a hairpin and the paint tin’s bale to pop a stuck lid. It sounds improvised because it is, yet it’s grounded in honest physics, not luck. When the rim is gummed with dried latex or oil-based paint and a flathead screwdriver chews the edge, this method brings control and finesse. Think leverage, not force. Think precision, not prising. In a few minutes, the lid lifts with a clean click, preserving the seal and your sanity. This is the small-engineering mindset that saves time, tools, and the tin itself.
Why the Hairpin Bale Trick Works
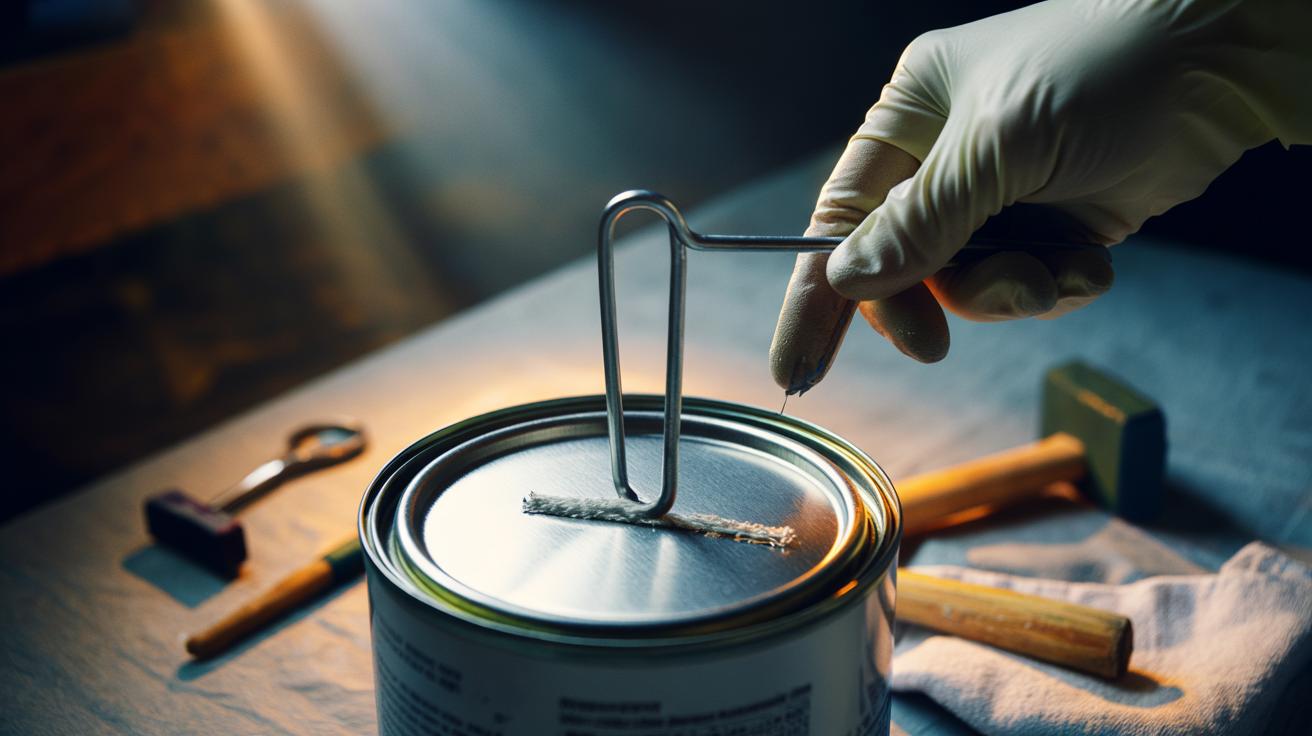
The secret is leverage. The paint tin’s wire handle—called a bale—serves as a ready-made fulcrum. Hook a firm hairpin (or similar U-shaped clip) beneath the lid’s outer curl and lever against the bale, and you create a first-class lever that multiplies your effort. The rim doesn’t need brute strength; it needs controlled torque spread around the circumference. This prevents denting the lip, which can sabotage resealing and cause air ingress later.
The method also reduces slip. A screwdriver’s blade can cam out and gouge the lid, while the rounded hairpin sits tidily in the curl, giving a more predictable lift. The bale stabilises that lift, acting like a pivot anchored close to the action. Small movements, big results. Distribute the lift in small increments around the tin rather than forcing one point. That way, dried paint bonds fracture gradually, and the lid rises evenly without twisting or warping the edge.
Step-by-Step: Lifting Stubborn Lids With Leverage
First, set the tin on a flat surface, ideally on cardboard to protect flooring. Rotate the bale upwards so it sits near the lid’s rim, creating a solid pivot. Slide the curved end of a sturdy hairpin beneath the lid’s rolled edge, resting the pin’s outside against the bale. One hand steadies the tin; the other lifts gently on the hairpin. A subtle pop is your cue. Stop. Rotate the tin by a few centimetres and repeat. Work your way around, six to eight tiny lifts, not one heroic heave. Patience is faster than force when the seal is glued tight.
If paint has formed a ring, score it lightly with a craft knife at the junction of lid and rim before lifting. Wipe away dust and flakes as you go. If the lid still clings, add a warm damp cloth to soften latex residues or a drop of white spirit on a cloth for oil-based rims—never drench. Keep the hairpin’s force close to the bale to maintain control. When the lid loosens, switch to a dedicated paint key or fingertips to finish, maintaining the rim’s integrity for a dependable reseal.
Safety, Cleanliness, and Can Preservation
Safety first. Wear eye protection if you’re tackling a particularly stubborn lid; flakes can ping off the rim. Gloves—nitrile, not cotton—help grip and keep solvents off skin. Keep the tin steady at hip height, not perched on a ladder or windowsill. And choose a hairpin with a smooth finish to avoid scratching the lid’s coating. A clean, undamaged rim is your only guarantee of an airtight reseal.
Cleanliness is preservation. As soon as the lid frees, wipe the groove and the lid’s curl with a rag. For latex, a little water; for oil-based, a touch of white spirit. Avoid bending the lid’s centre—pressing there can distort the seal. When you close the tin, seat the lid by hand, then tap around the perimeter with a rubber mallet or a block of wood, never a steel hammer. Label the side of the tin with colour, room, and date, because top labels hide under stacks. Stored upright, in a cool place, your tin will last. Next time, the lid will thank you.
Tools Compared and When to Use Them
Not every lid needs the same tactic. The hairpin-and-bale method excels on tins with a decent handle gap and light to moderate build-up. For brand-new tins, a paint key remains ideal. Where rust or impact dents complicate matters, you may need to alternate approaches—softening residues, gently tapping the lid’s perimeter to relieve tension, then leveraging.
| Tool/Method | Fulcrum | Risk Level | Best For |
|---|---|---|---|
| Hairpin + Bale | Bale (wire handle) | Low if rotated around rim | Stuck lids needing controlled torque |
| Paint Key | Rim edge | Low | New tins and routine openings |
| Flathead Screwdriver | Rim edge | Medium—can dent/gouge | Quick jobs when careful |
| Warm Cloth/White Spirit | N/A (softening aid) | Low | Breaking paint bonds before levering |
Pick the least invasive tool that applies sufficient leverage with maximum control. Gentle, repeated lifts around the circumference outclass a single, forceful pry every time. Keep that principle in mind and even a timeworn tin yields without drama.
There’s satisfaction in neat solutions. The hairpin-and-bale trick turns a grumbling chore into a repeatable technique rooted in physics: fulcrum, torque, and evenly distributed lift. It protects the lid, safeguards the rim, and preserves your paint for the next touch-up—no splintered edges, no messy battles. Next time you face a welded-on lid, you’ll reach for a humble pin before a pry bar, and you’ll finish faster, cleaner, calmer. Small tools, used smartly, punch well above their weight. What other everyday objects could you repurpose as elegant levers in your home toolkit?
Did you like it?4.3/5 (29)